Building a Tweed Deluxe 5E3 Tube Guitar Amplifier from Scratch
In 2013 I set out to hand-build a 1950s Fender Tweed Deluxe clone from scratch — cabinet, baffle board, chassis and all. This is the story of that build, documented post by post on the old Belt & Band blog.
Why Build an Amp?
There is something deeply satisfying about the idea of building your own guitar amplifier — not assembling a kit, not modifying something off the shelf, but genuinely starting from raw materials and ending up with a working, singing, breathing tube amplifier. That was the project I took on in 2013, and it turned out to be one of the most rewarding things I have ever made with my hands.
The circuit I chose was the Fender 5E3 Tweed Deluxe — a design from the late 1950s used by everyone from Neil Young to Billy Gibbons. It is famously simple: two channels, a single tone control, and a pair of 6V6 output tubes running into a 12-inch speaker. What it lacks in features it more than makes up for in character.
Part 1 — Design & Wood Selection
Before a single cut was made, the project began with research, planning, and a deliberate choice about design. The original Fender 5E3 Deluxe was produced as a combo amplifier — cabinet and speaker in one unit — and that is exactly the format I built. No separate head and cab. The combo format keeps the build compact and true to the vintage original.
The Cabinet Design
I drew up my own cabinet design based on the original Fender 5E3 combo dimensions, working from a design template found online that provided measurements in inches — which I converted to millimetres. The cabinet dimensions match the original Tweed Deluxe combo specification exactly.
I had the wood run through a planer to reach a finished thickness of 20mm, in line with the correct spec. The pieces were provisionally cut oversized at this stage to make them easier to handle and store before final cutting.
Choosing the Wood
The timber choice for a Tweed-era Fender is not incidental — it is part of what makes these amps sound the way they do. The cabinet wood must be a hardwood species that can interact and vibrate freely with the speaker. Chipboard, MDF, or other dead materials simply won't do the trick — they absorb energy rather than resonating with it.
Fender's original cabinets were built from American pine — a species that is harder and denser than the pine grown locally in South Africa. A good equivalent is Oregon pine, which shares similar acoustic properties. I didn't have access to Oregon pine at the time, but I did have access to something arguably better: Yellowwood and Cypress, both of which are beautiful, resonant hardwoods that work superbly for this application.
I sourced both species locally — the wood was felled nearby — which makes this amp a genuine home brew in every sense. And I got it at a bargain price.
I ultimately used Cypress for the main cabinet panels. It has the additional advantage of being wide enough in board form that no edge-joining was needed — the panels could be cut cleanly from single pieces, which simplifies construction and avoids glue lines on the visible faces.
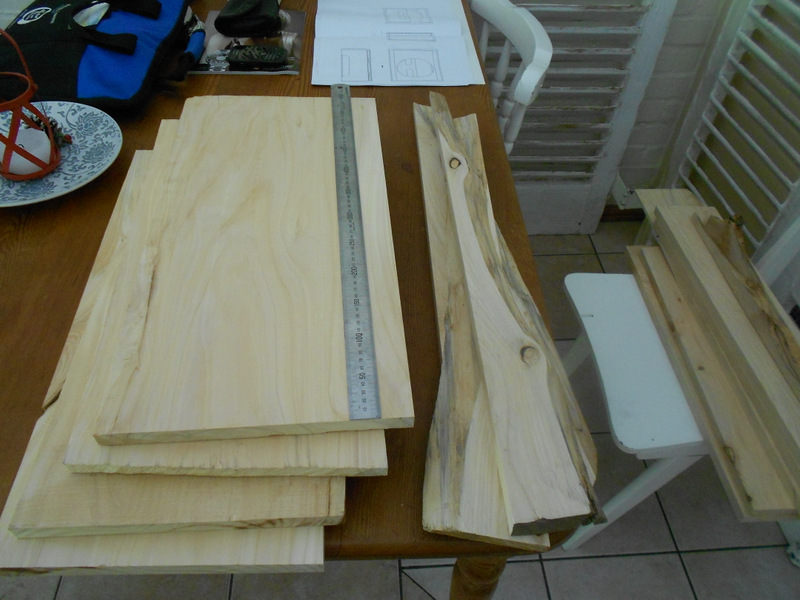
The timber selection alongside the first rough cabinet drawings — measuring up before anything was committed to.
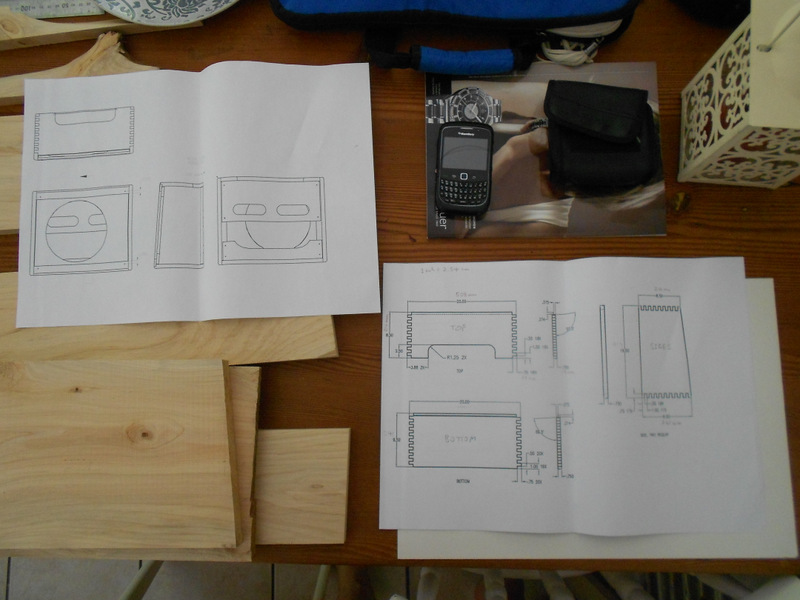
The hand-drawn plans converted to millimetres — front view with speaker cutout and side elevation with finger joint markings.
The Baffle Board
The original Tweed Deluxe amps used Baltic birch plywood for the speaker mounting board and sound baffle boards. Baltic birch is a hardwood ply, free from voids and dead knots — both critical qualities, since any weakness in the baffle transmits directly into the speaker's performance.
After an extended search I couldn't source birch plywood locally. I settled on marine grade plywood instead — widely regarded as a solid equivalent, and more cost-effective. The speaker mounting board needed to be 12mm thick; the baffle boards 6mm thick. Rather than buying separate sheets of each thickness, I bought a full sheet of 6mm, planning to laminate two pieces together with glue to achieve the 12mm where needed.
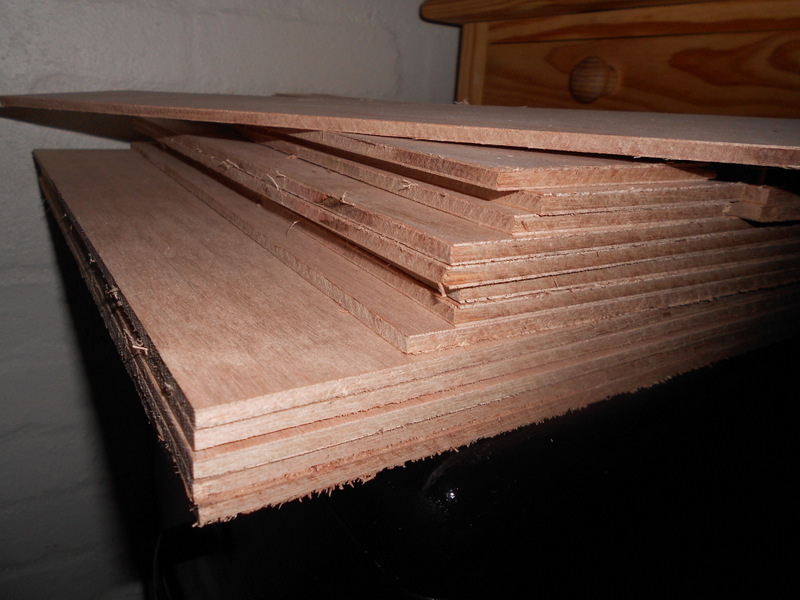
The marine plywood panels cut to size — 6mm sheets to be laminated in pairs to form the 12mm speaker mounting board.
With the design finalised and all the timber in hand, the build could properly begin.
Part 2 — Cabinet Construction
A friend helped me cut the finger joints on the panel saw — the interlocking comb-like corner joinery used on all vintage Fender cabinets. They add significant glue surface area and make for an extremely strong box.
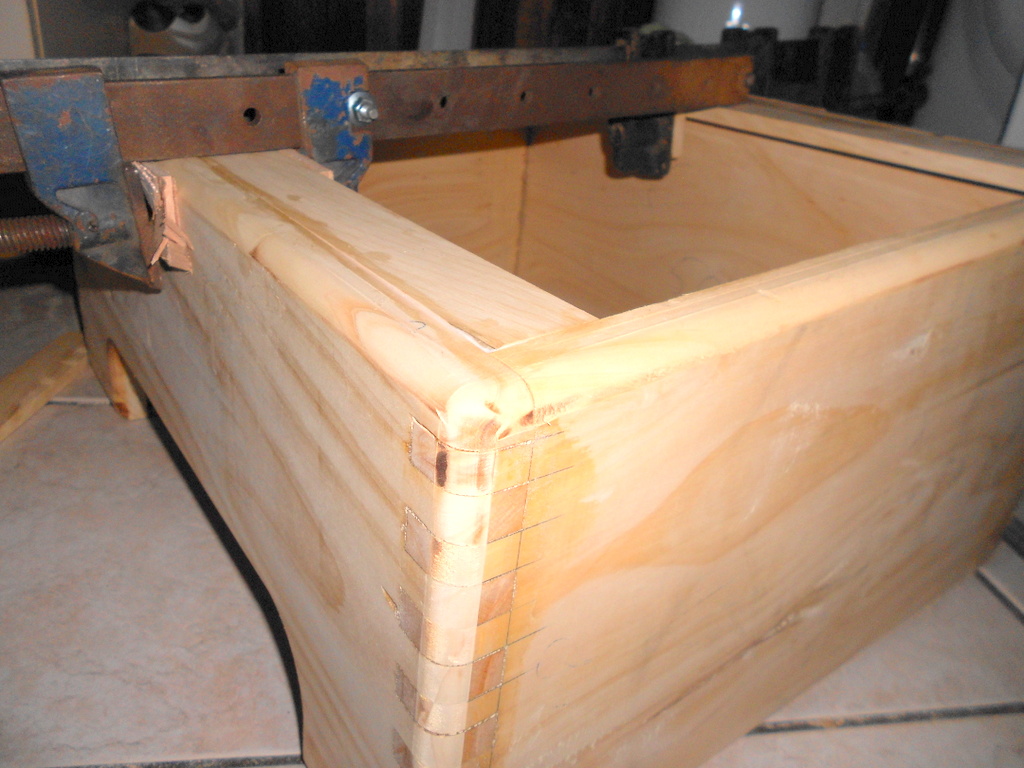
The pine panels coming together in the vice for the first glue-up.
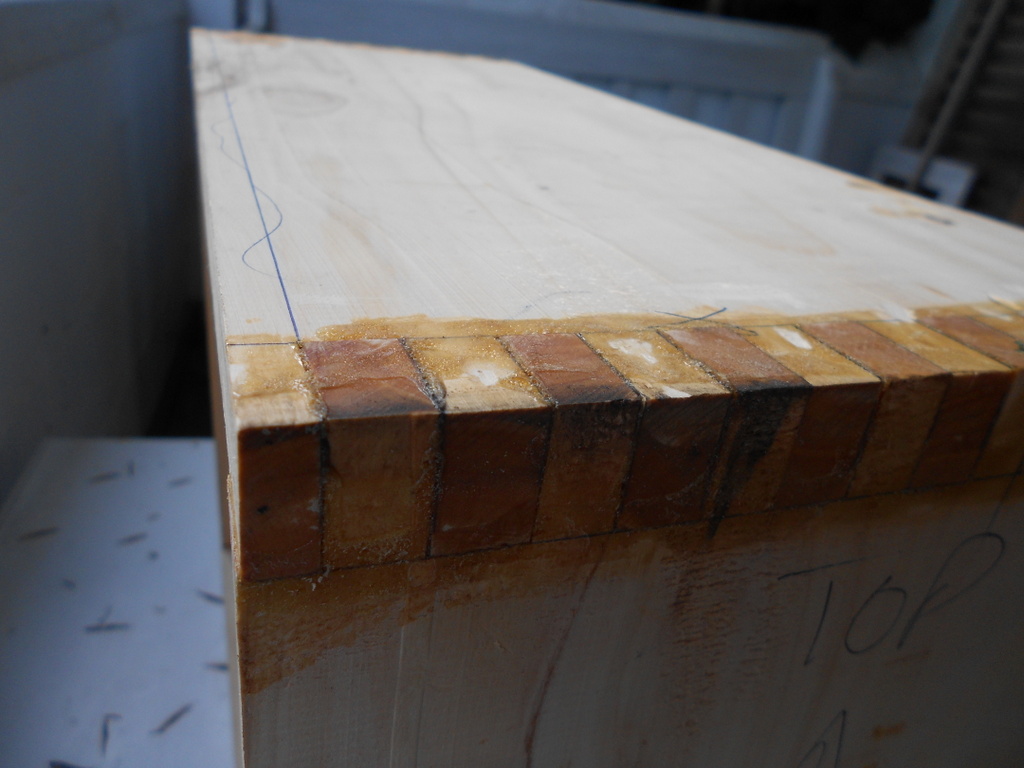
The half-inch interlocking finger joints — structural strength and classic vintage amp aesthetic in one.
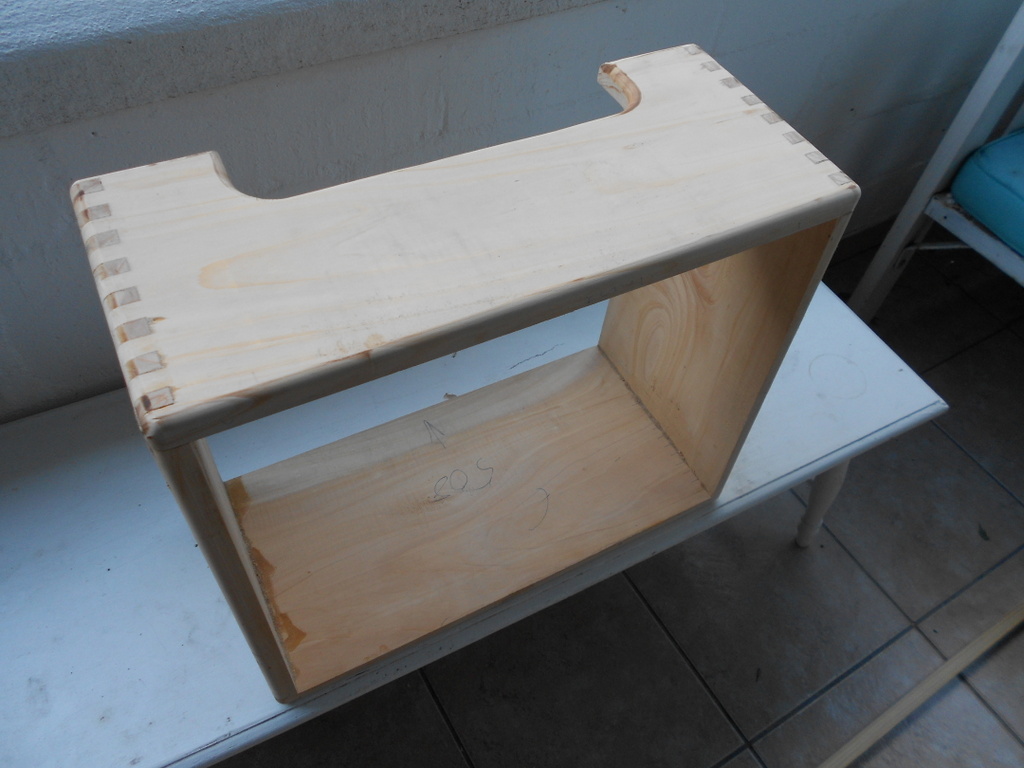
The completed raw pine cabinet with the chassis recess cut into the top — ready for the baffle board and covering.
Part 3 — The Baffle Board
The baffle board houses the speaker and needs to be plywood for its resonating properties. I laminated two sheets of 6mm marine ply together for the required 12mm thickness, then glued 35mm strips around the edge to frame the grill cloth. I spray painted it black — if you skip this step, the pale wood shows through the fabric. The 12-inch speaker opening was offset rather than centred, to leave clearance for the output transformers.

Painted black and speaker opening cut — 180mm diameter, offset to allow transformer clearance.
Part 4 — Fitting the Grill Cloth
I ordered the original Fender spec grill cloth — an oxblood-coloured material with gold pin-striping — shipped directly to South Africa as it was sold out nationwide. Keeping tension on the material while simultaneously stapling it down was a battle. I wanted the pattern to line up perfectly parallel to the facade panels, which took patience and more than a few blood blisters from the staple gun.

The original Fender oxblood grill cloth with gold pin-stripe, stretched and stapled over the baffle frame.
Part 5 — Covering the Cabinet with Tweed Fabric
The tweed fabric took three months to arrive from the States. I used a neoprene contact adhesive — the same I use for leather goods. The corners were the trickiest part: the fabric must be folded and coaxed clean without bunching. Any air bubbles were rolled out with a wine bottle.

The original Fender Tweed fabric laid out ready for cutting — pattern direction matters.

The corners — the hardest part of any fabric covering.

The raw pine box, now transformed — original Fender Tweed fabric applied all round.
Part 6 — The Hand-Stitched Leather Handle
A generic Fender handle was never going to cut it. I made a hand-stitched heavy-duty leather handle from thick veg-tan, using the chrome hardware from a standard Fender handle as the mounting points. I cut two identical handle shapes, dyed them brown, glued the layers together, and saddle-stitched them with beeswax-coated thread at 4mm spacing.

All leather handle pieces laid out before dyeing.

Saddle stitching in progress — a single waxed thread, a needle on each end, through every punched hole.

The finished saddle-stitched leather handle — the detail that makes this amp unmistakably bespoke.
Part 7 — The Electronics
I sourced a 5E3 kit from Karel Mars Audio, a South African supplier. The kit came with the pre-drilled and silk-screened aluminium chassis and all the components needed to populate the circuit. Karel Mars handled the critical high-voltage section for me — wiring up the power and output transformers — which was entirely the right call. Working with mains voltages and the high-voltage B+ rail is not something to attempt without proper qualifications, and I had no intention of burning the house down.
My contribution was everything else: populating and soldering the turret board, wiring all the tone and volume controls, the tube sockets, the input jacks, and the point-to-point connections throughout the signal path. This was deliberate — half the satisfaction of a build like this is in understanding what you've made, and there is no shortcut to that understanding like soldering every joint yourself.
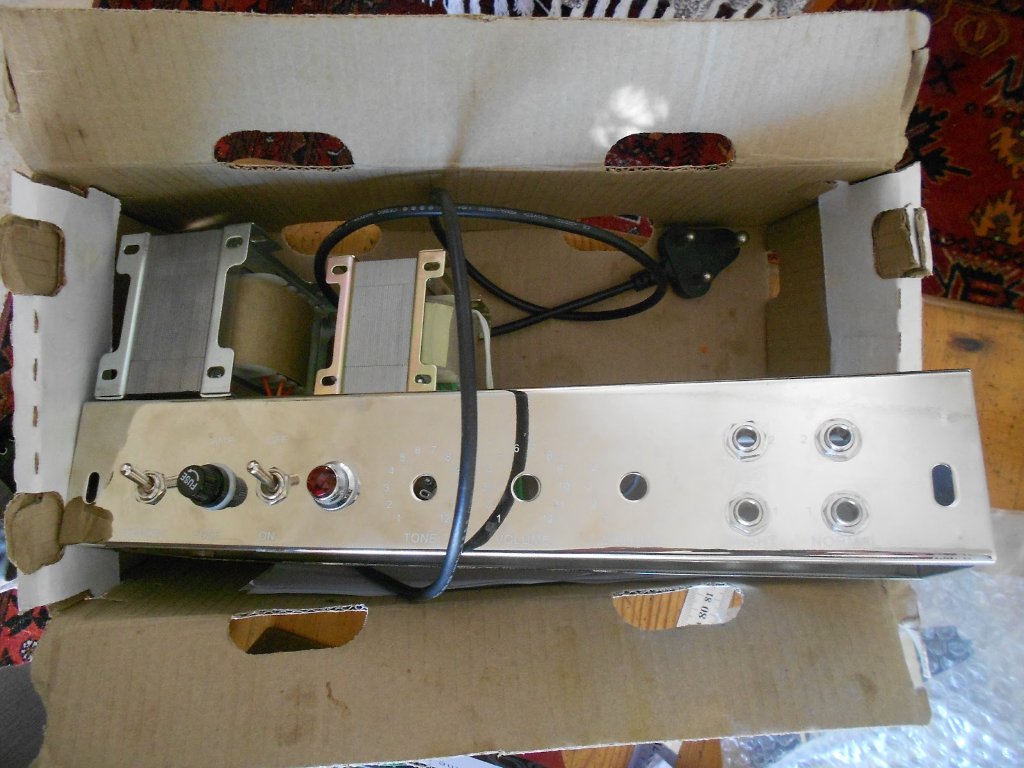
The full Karel Mars Audio 5E3 kit — everything needed except tubes and speaker.
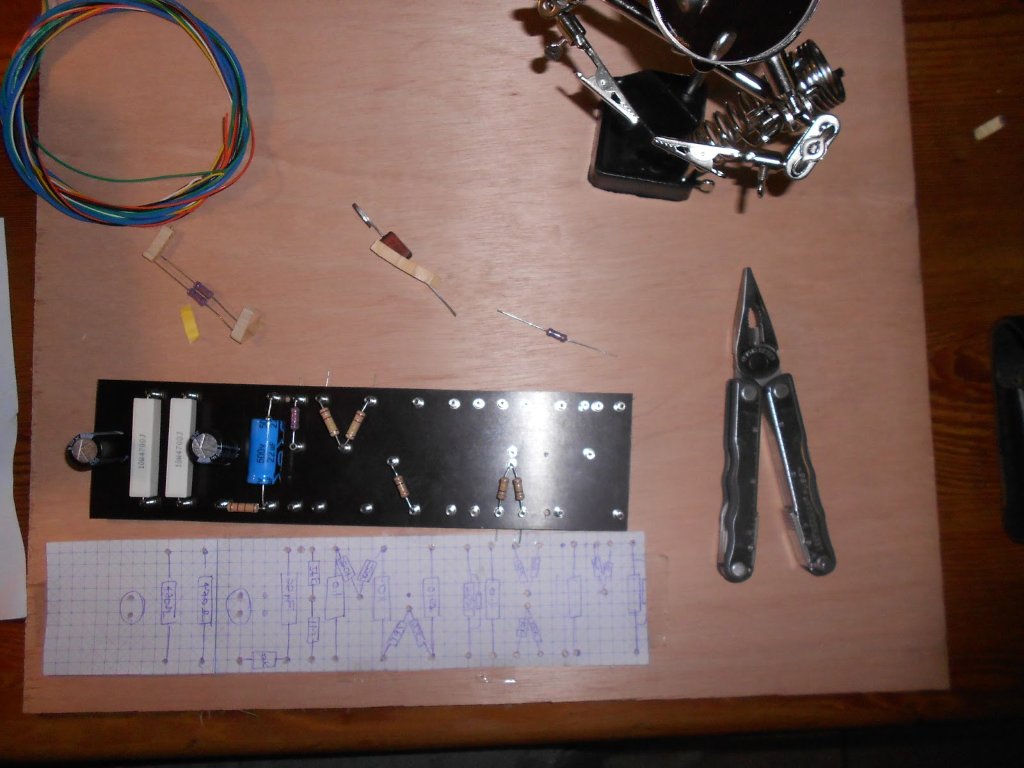
The turret board mid-population — resistors and capacitors being placed and soldered with my component map for reference.
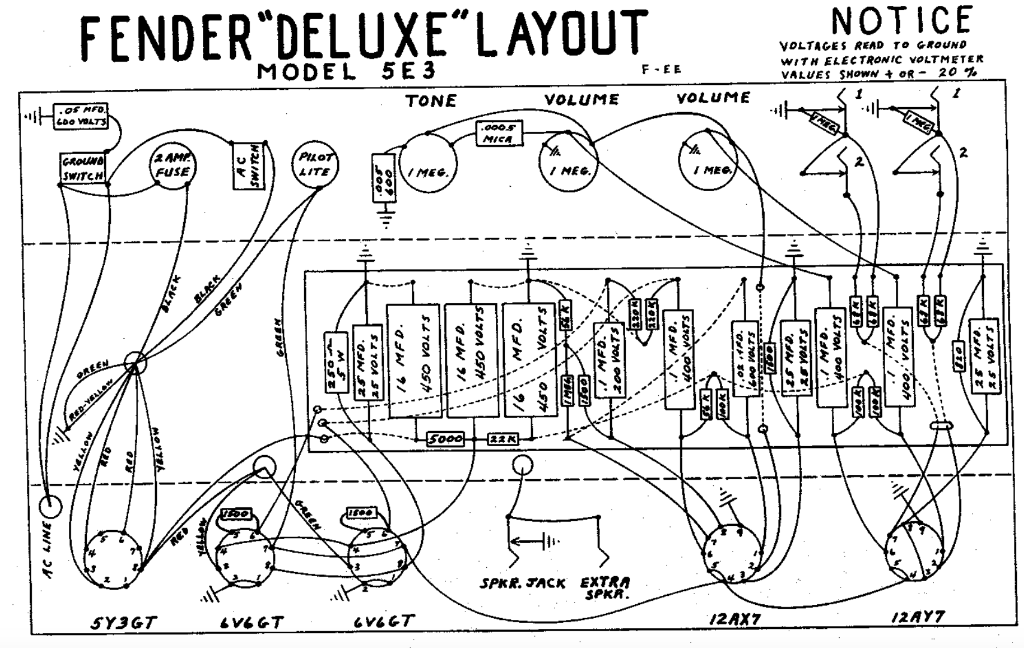
The original Fender "Deluxe" Model 5E3 layout diagram — the document I worked from throughout wiring.
Part 8 — The Speaker: A Vintage Celestion Greenback
The speaker is arguably the most important single component in a guitar amplifier's voice — and I wasn't going to fit a generic new driver into a hand-built cabinet. I had been hunting for a period-correct speaker, and the find couldn't have been better: a Celestion Greenback pulled from an old 1970s Marshall PA system cabinet.
The Greenback is one of the most celebrated guitar speakers ever made. With its characteristic warm midrange, smooth top end, and natural compression when pushed, it is the speaker associated with the classic British rock tone of the late 1960s and 1970s — used in Marshall, Hiwatt, and Vox cabinets of the era. Finding one in an old PA cab rather than paying a premium for a reissue was a genuine stroke of luck.
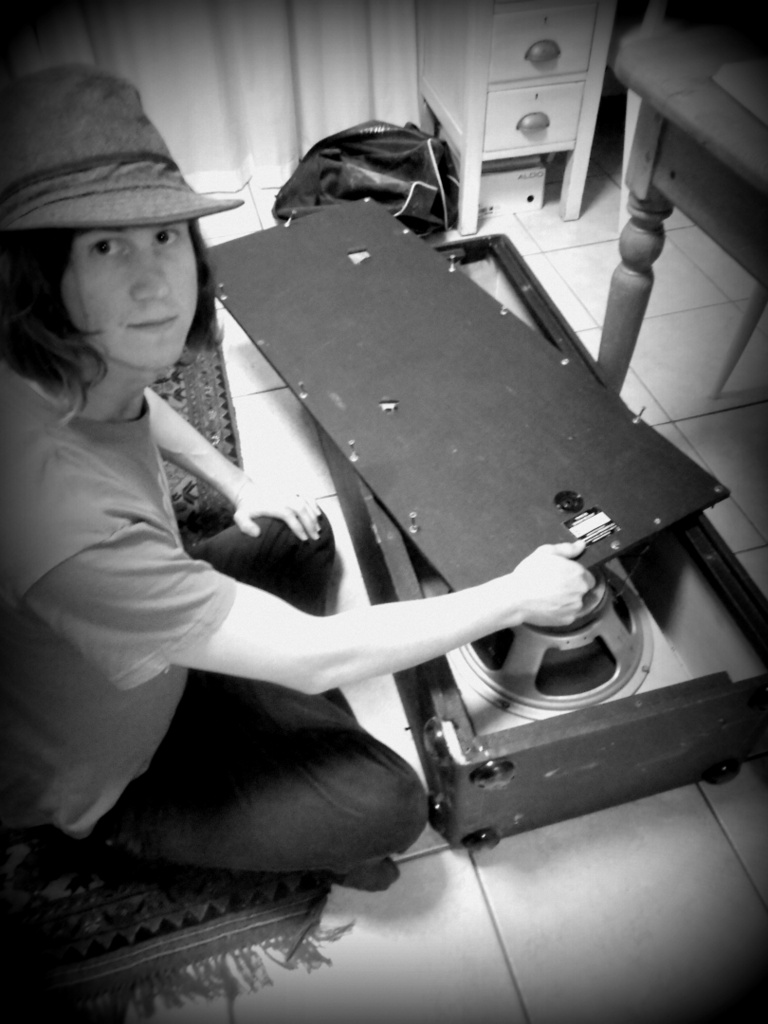
Extracting the Celestion Greenback from the 1970s Marshall PA cabinet — a speaker that had already lived a full life before finding its way into this build.
The speaker checked out well — cone intact, surround supple, voice coil free. A vintage Greenback in working condition is a find worth far more than its PA cabinet origins suggested. I wired it up and mounted it into the baffle board, the twist-and-solder speaker leads connected to the output jack.
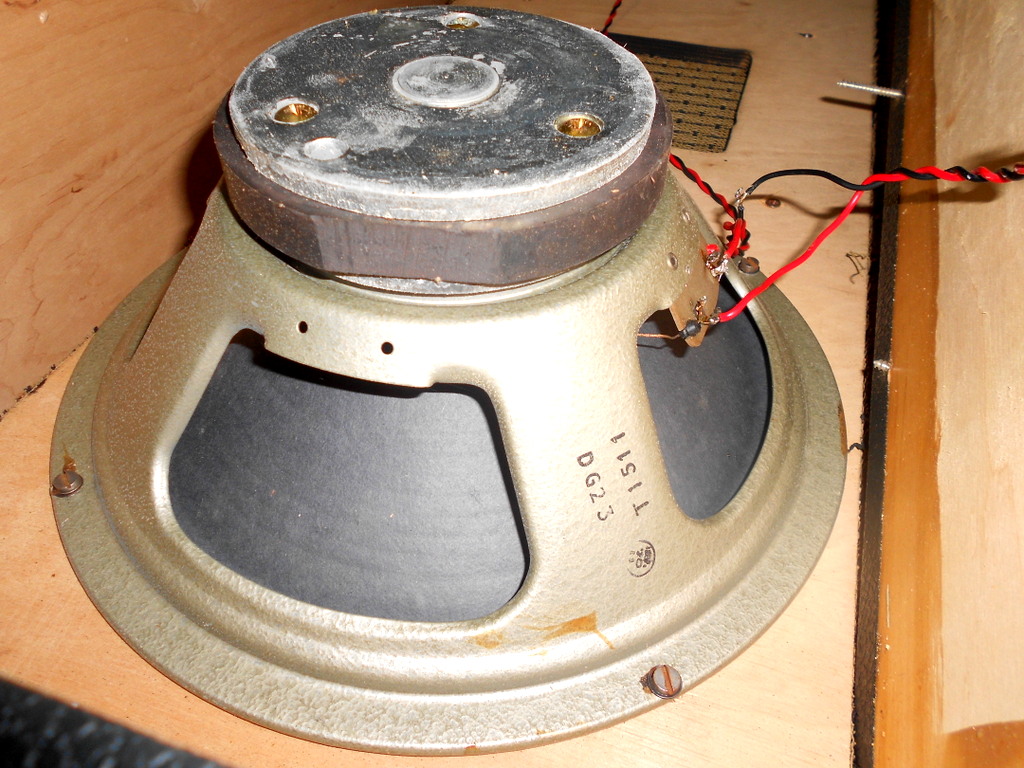
The Celestion Greenback seated in the cabinet and wired up — decades of character ready to sing through twelve watts of hand-built tube power.
Pairing a vintage Greenback with the 5E3 circuit is a natural match. The amp's warm, slightly compressed output complements the speaker's smooth, vocal midrange perfectly. Where a modern speaker might sound clinical, this combination breathes and blooms in a way that is deeply musical.
The Finished Amplifier
- Output tubes: 2× 6V6GT
- Preamp tubes: 2× 12AX7 — Rectifier: 5Y3GT
- Cabinet: Hand-built solid pine, finger-jointed
- Covering: Authentic Fender Tweed fabric — Grill cloth: Original Fender oxblood/gold weave
- Handle: Hand-saddle-stitched veg-tan leather, bespoke
- Electronics: Karel Mars Audio 5E3 kit, wired by hand
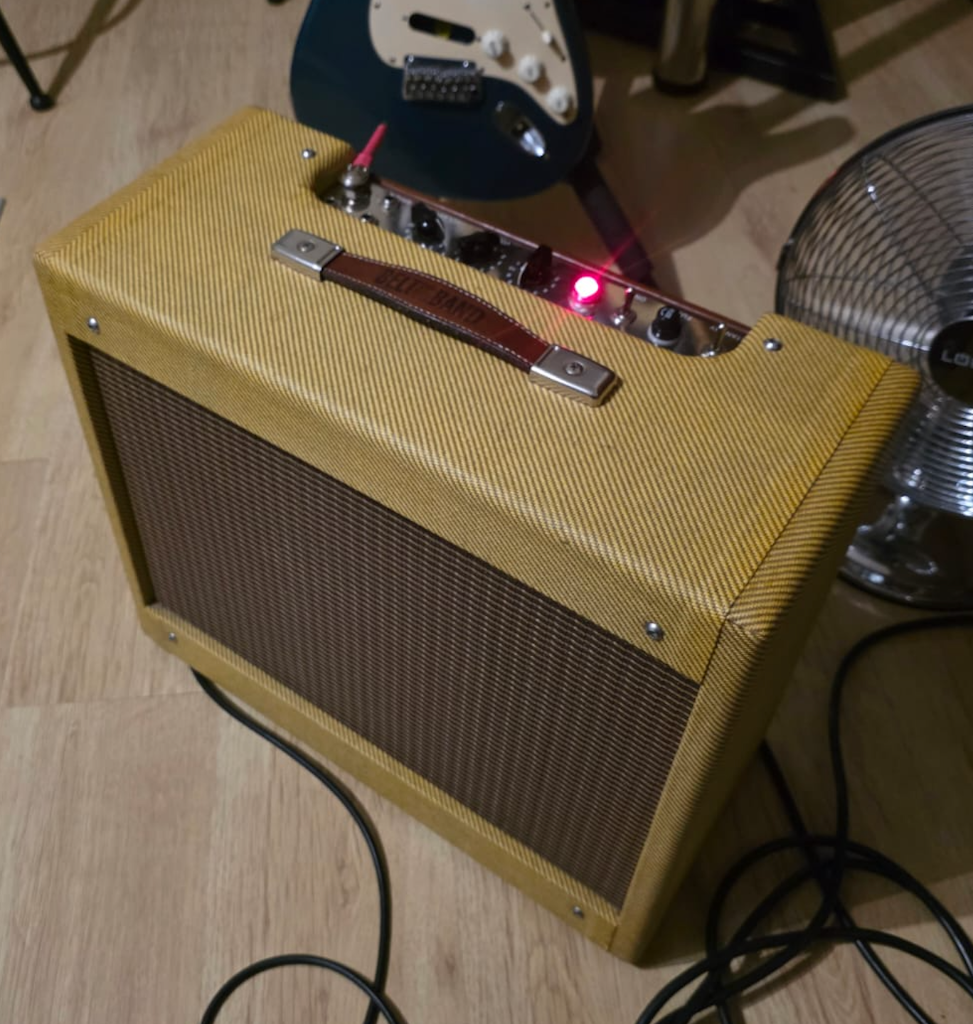
The finished Belt & Band Tweed Deluxe 5E3 — hand-built leather handle, glowing pilot light, ready to play. Cape Town, 2013.
The sound is everything the 5E3 reputation promises. At low volume it is warm and compressed — rich, clean tones with a softness no solid-state amp can replicate. Push past 6 and it begins to breathe and break up in that characteristic way: harmonically complex, singing, and deeply responsive to pick attack. The Belt & Band blog where I originally documented this build is now archived. But the amplifier still works.